Colour Grading · Education
What Is a Finishing LUT?
And Why Every Filmmaker Needs One
You’ve corrected your exposure. You’ve balanced your highlights and shadows. You’ve even done a rough colour grade. But something still feels off — your footage from the first location doesn’t quite match the second, the B-roll sits in a slightly different tonal world than your main shots, and the whole thing lacks that cohesive, polished look you see in professional travel films.
This is exactly what a finishing LUT is built to solve.
What Is a Finishing LUT?
A finishing LUT (Look-Up Table) is a colour grading file applied as the final step in your editing workflow. Unlike a technical LUT — which converts LOG footage to a standard colour space — or a heavy creative LUT that imposes a dramatic look, a finishing LUT is designed to be subtle. Its job is to add a unified tonal character across your entire project without overriding the work you’ve already done.
Think of it like a final coat of varnish. The painting is already complete — your exposure is right, your contrast is where you want it, your individual clips are corrected. The finishing LUT simply brings everything into the same visual world, tying scene to scene, location to location, camera to camera with one cohesive look.
Finishing LUTs vs. Other Types of LUTs
Understanding what a finishing LUT is requires understanding what it isn’t.
Technical LUTs
Technical LUTs handle colour space conversions. If you shoot in Sony S-Log3, your footage will look flat and washed out on a standard monitor — that’s intentional. S-Log3 retains as much dynamic range as possible in the file. A technical LUT converts that S-Log3 signal to a standard Rec.709 viewing colour space, giving you a usable, natural-looking image to work from. Canon Log 2 and Canon Log 3 work the same way — they capture a flat, wide-dynamic-range image that needs to be transformed before any creative grading.
Creative LUTs
Creative LUTs impose a specific look — heavy teal shadows, crushed blacks, bleach bypass, filmic grain. These are starting points for a creative direction, often dramatic and immediately recognisable.
Finishing LUTs
Finishing LUTs sit in a category of their own. They’re applied after your technical conversion and after your correction and contrast work. They don’t correct anything — they simply add a refined, consistent tonal quality that unifies your footage. The best finishing LUTs are subtle enough that your audience won’t consciously register them, but present enough that your film feels like it was shot in one cohesive world.
The Correct Workflow
Where a Finishing LUT Actually Goes
This is where a lot of filmmakers go wrong. They apply a LUT first, then try to correct underneath it — working backwards and fighting against the grade the entire time.
The correct order is:
Step 1 — Shoot in LOG
Whether you’re shooting Sony S-Log3 on an A7 series camera, Canon Log 2 on an EOS R5 or C70, Canon Log 3 on newer Canon cinema cameras, or any other LOG profile — shoot flat. Retain your dynamic range. Give yourself as much information to work with as possible in post.
Step 2 — Convert to Rec.709
Apply a technical LUT or manually transform your LOG footage to a standard Rec.709 image. In DaVinci Resolve this is handled via a colour space transform node. In Premiere Pro, apply a conversion LUT in the Lumetri panel. In Final Cut Pro, use the LOG conversion built into the camera preset.
For Sony S-Log3, a standard S-Log3 to Rec.709 conversion LUT gets you to a clean baseline. For Canon Log 2 or Canon Log 3, Canon provides official conversion LUTs, or your NLE may handle this automatically.
Step 3 — Dial In Your Contrast and Exposure
Before you apply any finishing LUT, your footage should be fully corrected. Bring your exposure to where you want it. Set your blacks. Shape your contrast. Balance your white balance. This is your personal input — the creative decisions that are yours alone. A finishing LUT is not designed to correct anything. If your footage has a colour cast or is underexposed when you apply it, the LUT will compound those problems rather than fix them.
Step 4 — Apply Your Finishing LUT
Now, and only now, apply your finishing LUT. At this stage it should require almost no adjustment — because your footage is already correctly exposed, white-balanced, and graded, the LUT’s job is simply to add its tonal signature. Reduce the intensity slightly if your software supports it. Most finishing LUTs sit best at 70–100% strength.
Why Consistency Is the Point
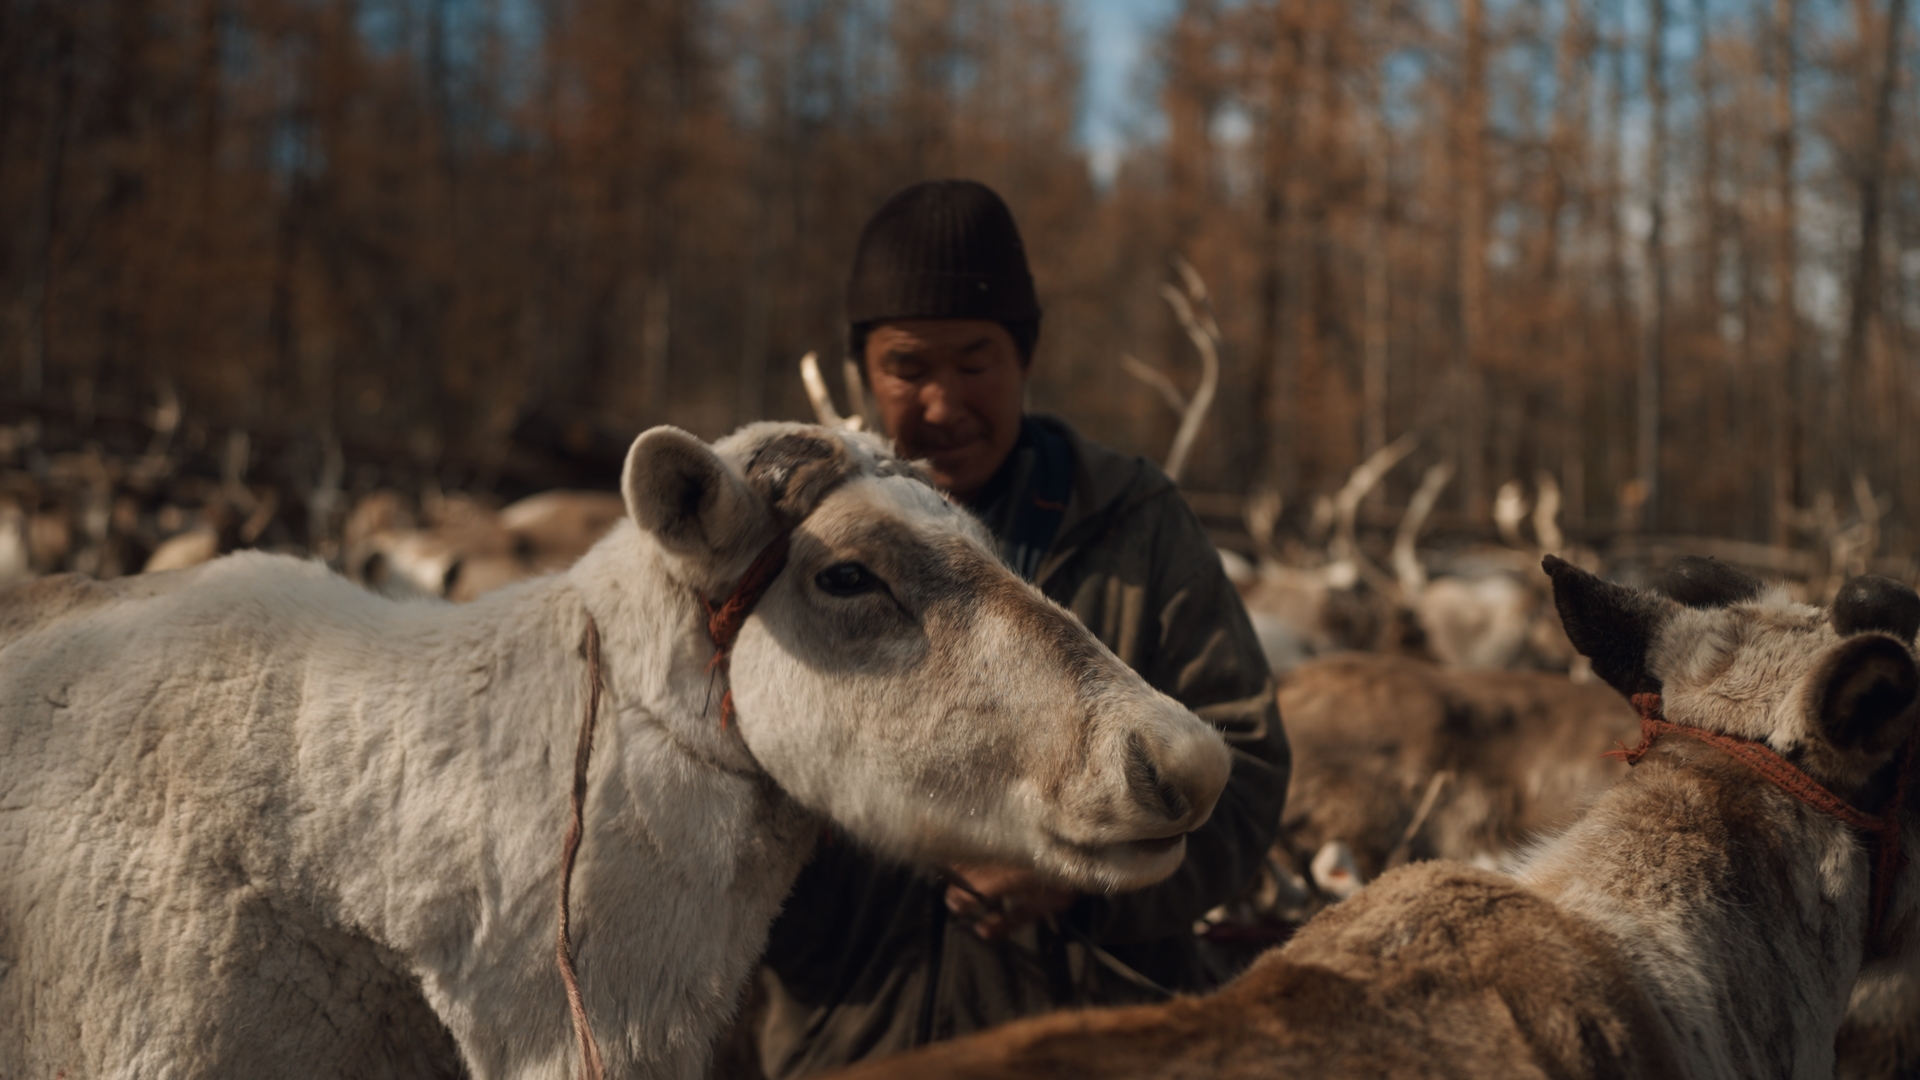
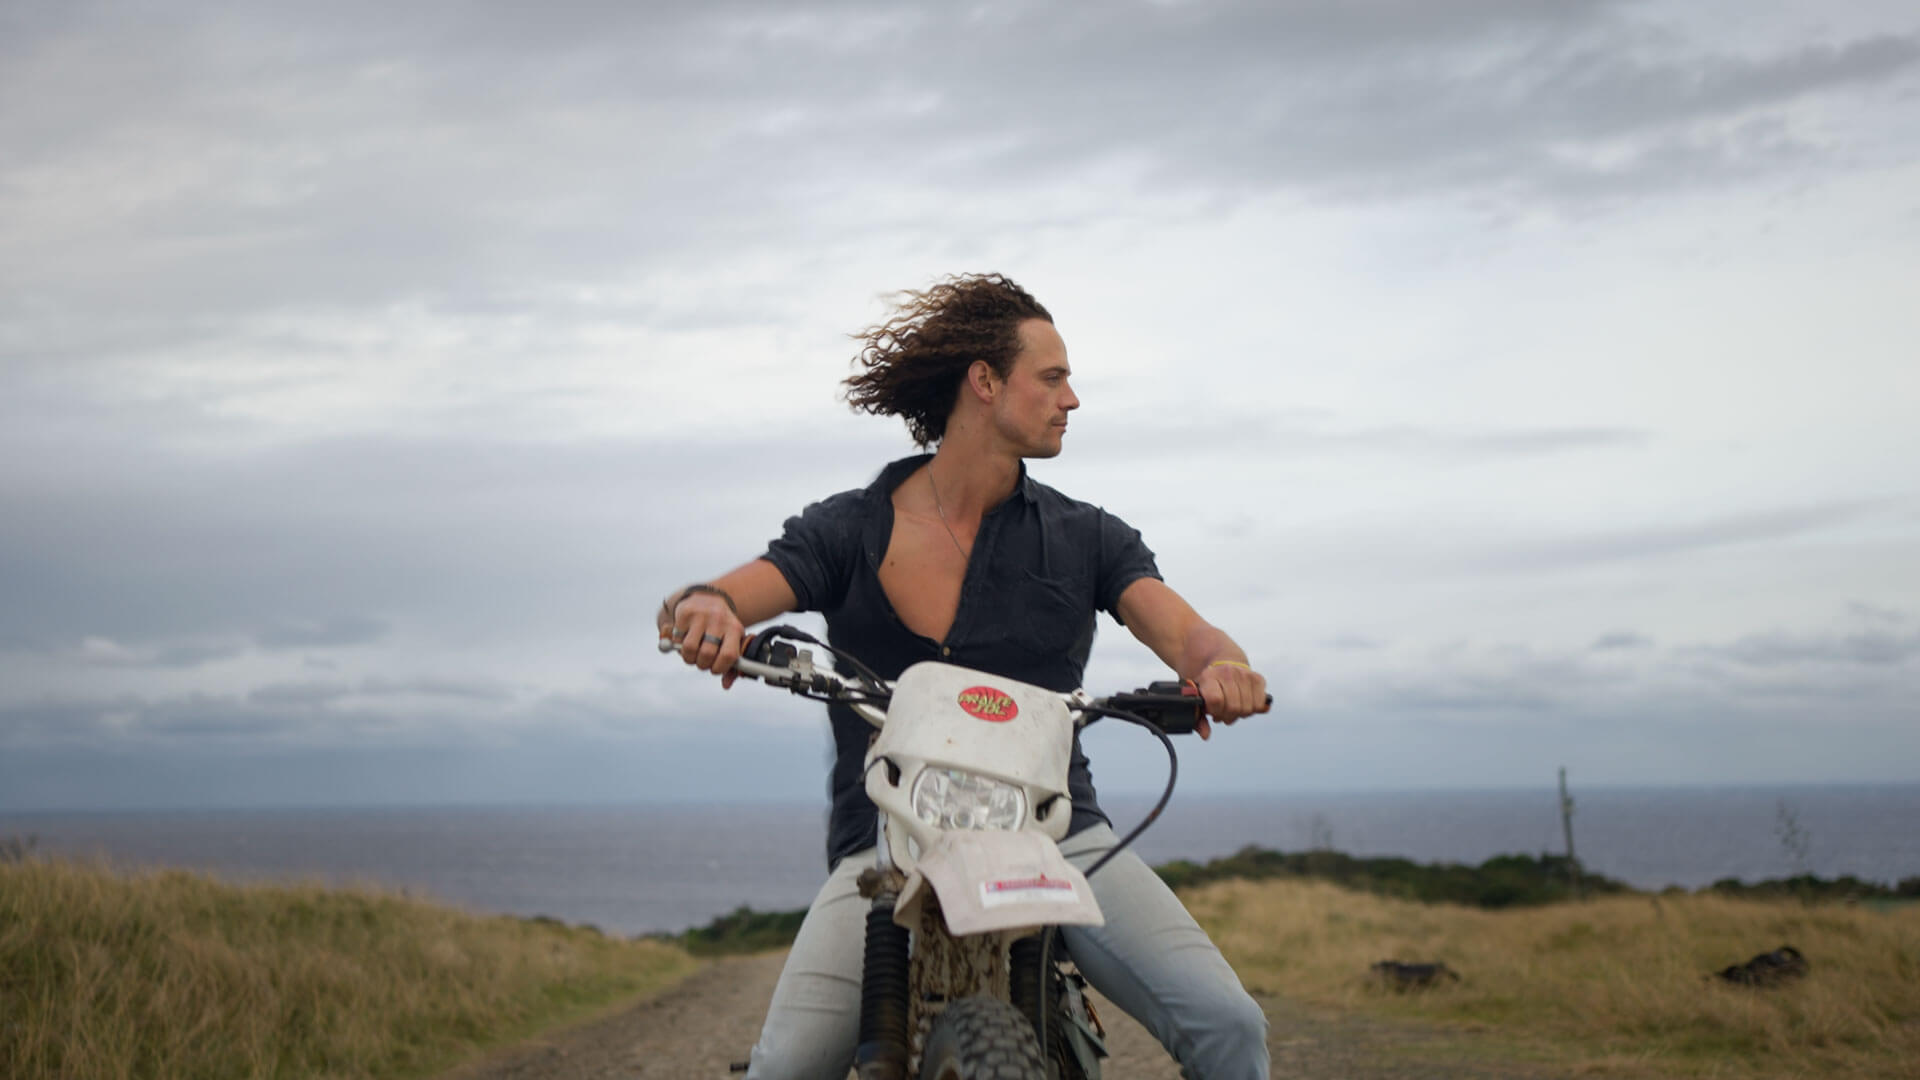
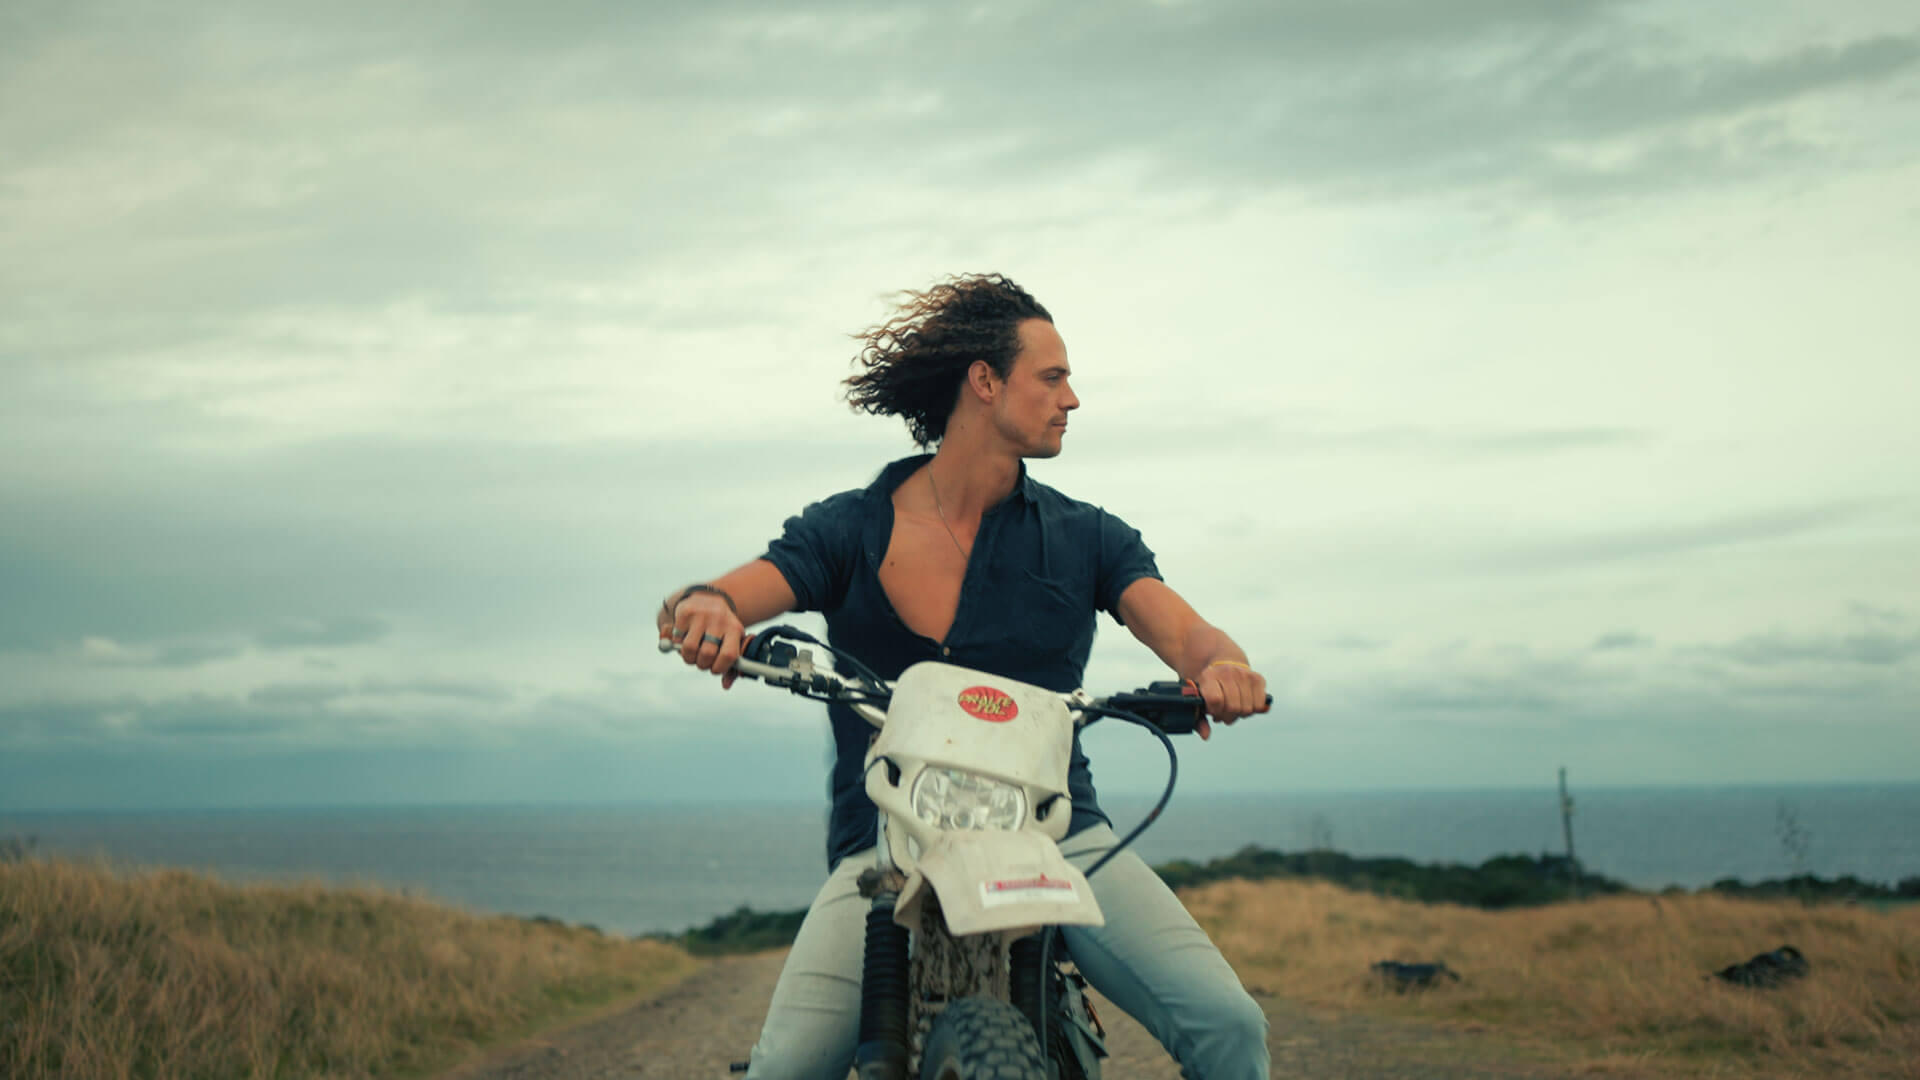
Here’s what makes finishing LUTs genuinely valuable for travel and documentary filmmakers: you rarely shoot with one camera, in one location, under one lighting condition.
A morning scene shot in golden hour light in Peru looks different to an interior shot in Japan, which looks different to a wide landscape in Iceland. Your main camera footage sits alongside GoPro clips, drone footage from a DJI, or iPhone shots. Even within the same camera and the same day, the light changes constantly.
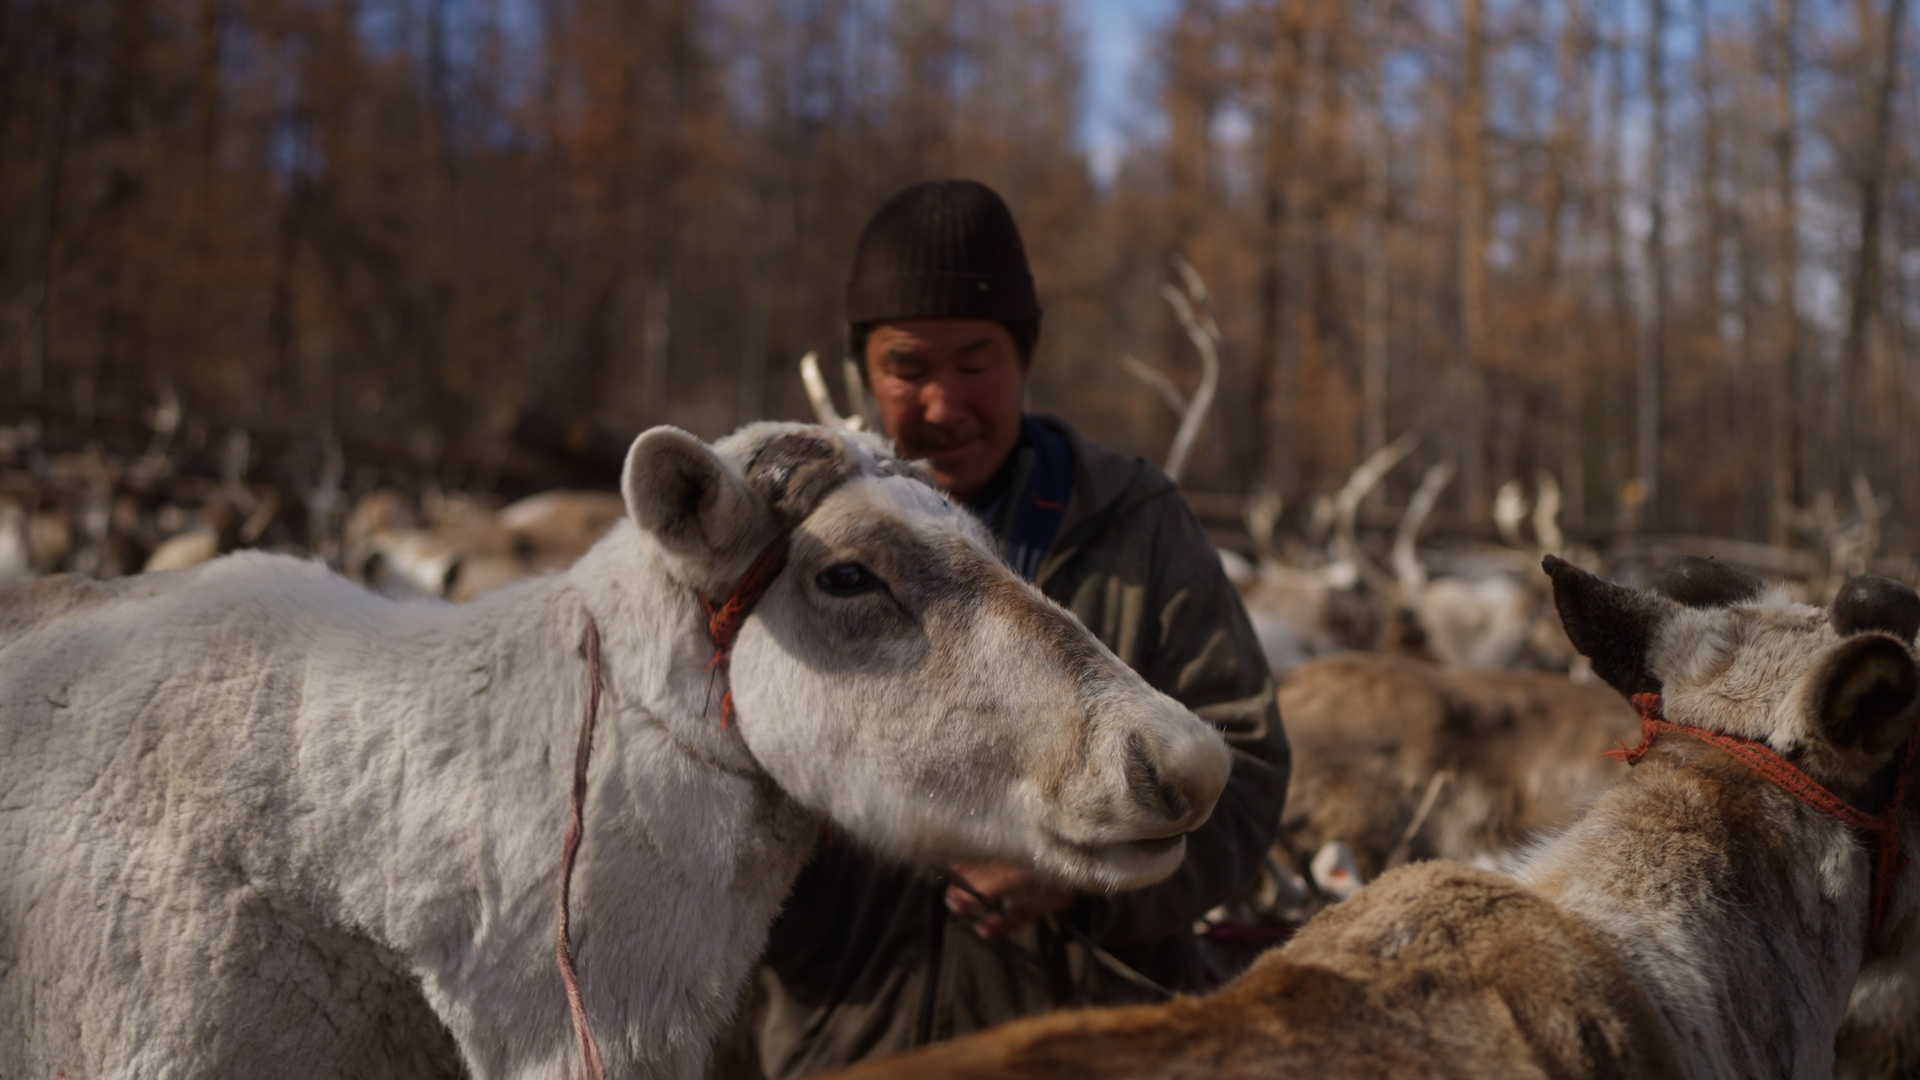
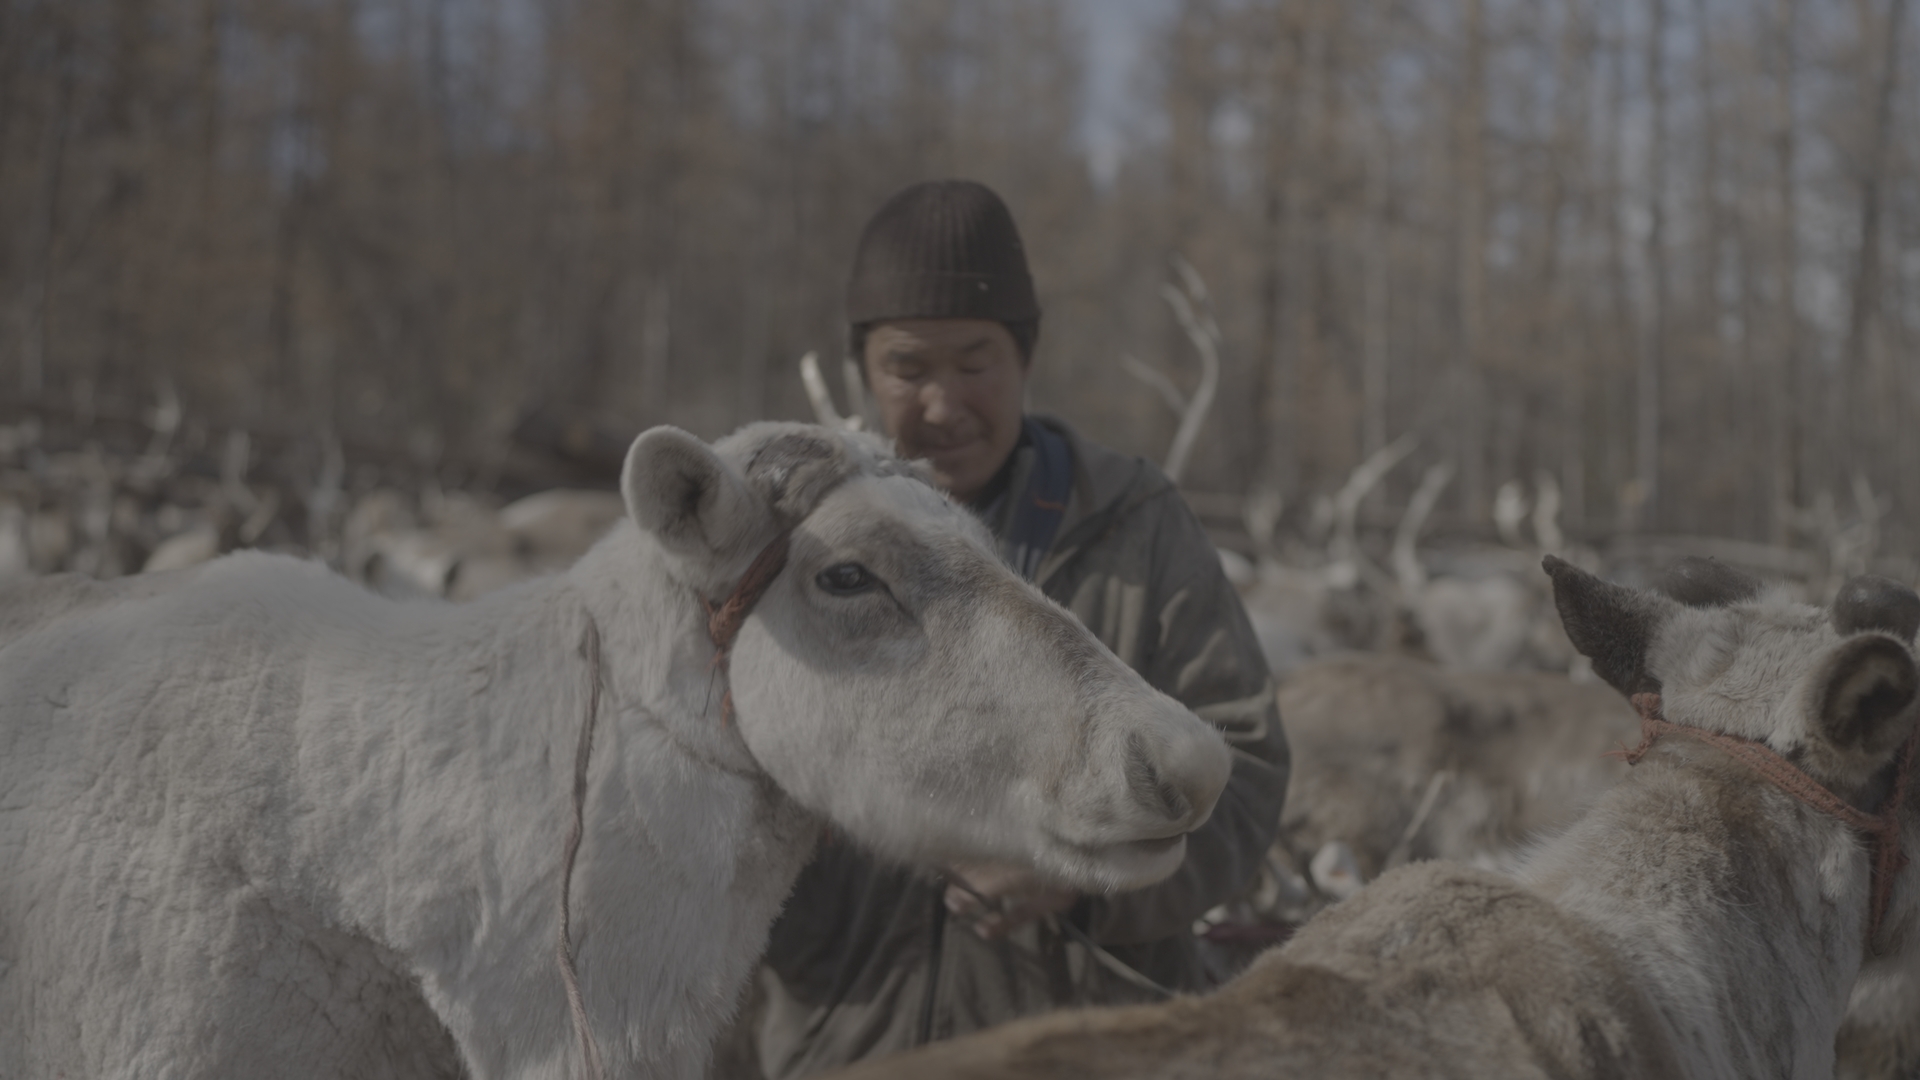
A finishing LUT doesn’t erase those differences — it shouldn’t. What it does is give all of those varied shots a shared tonal foundation. The shadows lean the same direction. The highlights carry the same quality. The overall palette belongs to the same family. Everything goes into the same world.
This is the distinction between a film that looks like footage and a film that looks like a film.
What Makes a Good Finishing LUT
Not all LUTs marketed as “cinematic” are finishing LUTs. Here’s what separates a well-designed finishing LUT from a heavy creative grade packaged as a LUT:
- Built for Rec.709. A finishing LUT assumes you’ve already converted your LOG footage. If it’s designed to be applied directly to flat LOG footage, it’s a creative LUT, not a finishing LUT.
- Preserves your contrast. A good finishing LUT doesn’t crush your blacks or blow your highlights. It sits on top of the contrast you’ve already established.
- Works across camera brands. Because finishing LUTs operate in a standardised Rec.709 colour space, a well-designed one works on Sony, Canon, Fuji, DJI, and smartphone footage alike — as long as you’ve converted to Rec.709 first.
- Subtle by design. If you apply it and your footage is immediately, dramatically transformed, it’s not doing the job of a finishing LUT. The best ones make your audience feel something without knowing why.
The Afterglow LUTs — Built as Finishing Looks
The Afterglow LUT collection by Visual Tone is designed specifically around this philosophy. Each LUT in the collection — Nomadic Drift, Jungle Honey, Andean Dust, and Vapour Bloom — is built on a neutral Rec.709 foundation and designed to be applied after your own correction and contrast work.
They’re not heavy grades. Nomadic Drift subtly guides midtone hues toward warm amber with a faint steel bias in the shadows. Jungle Honey enriches footage with a warm green-gold harmony that works particularly well in nature and travel filmmaking. Because they’re built on Rec.709, they work reliably across Sony, Canon, Fuji, DJI, and smartphone footage.
Frequently Asked Questions
Do I need to convert my LOG footage before applying a finishing LUT?
Yes. Finishing LUTs are designed for Rec.709 footage. Applying one directly to S-Log3 or Canon Log footage gives you unpredictable, inaccurate results. Always convert first, correct second, then apply your finishing LUT.
Can a finishing LUT be used on smartphone footage?
Yes — as long as you’re shooting in standard video mode (not Apple Log or a flat profile). Standard phone footage is already in Rec.709, which is exactly what finishing LUTs are designed for.
What's the difference between a finishing LUT and a colour grade?
A colour grade is the entire process of correcting, shaping, and stylising your footage. A finishing LUT is one tool used within that process, applied at the very end to unify the overall tonal feel of your project.
What editing software supports finishing LUTs?
Any professional NLE that supports 3D LUTs (.cube files) will work — Adobe Premiere Pro, DaVinci Resolve, Final Cut Pro, Avid Media Composer, CapCut Pro, and LumaFusion are all compatible.
Will a finishing LUT look the same on Sony S-Log3 and Canon Log footage?
If you’ve correctly converted both to Rec.709 first, yes — the LUT performs consistently across camera brands. The conversion step is what normalises the differences between camera profiles.